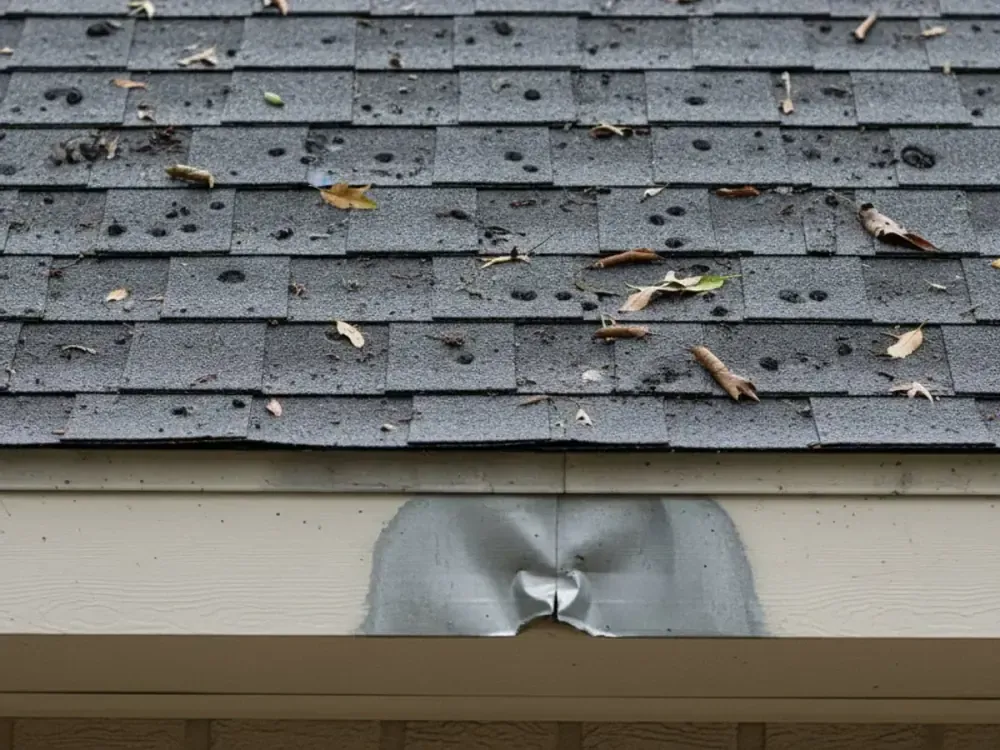
storm damage
Emergency Roof Tarping Costs: What You'll Actually Pay in...
Emergency roof tarping costs range from $300–$1,500 for professional installation. Learn what drives the price, when DIY works, and how insurance handles tar...
Home › Resources › Emergency Roof Repair
Emergency Roof Tarping Costs: What You’ll Actually Pay in 2026
A roof failure doesn’t announce itself at a convenient time. When it happens — after a hail storm, a wind event, a tree strike, or a failure of aging materials — your immediate concern is stopping water intrusion before it reaches ceilings, insulation, electrical systems, and flooring. Emergency tarping is the tool for that job, and understanding what it costs before you’re in crisis mode puts you in a better negotiating position when a contractor arrives at your door at 10 PM.
The honest range for professional emergency roof tarping in 2026 is $300 to $1,500, with most residential jobs landing between $450 and $900. That spread is not arbitrary — it’s driven by six specific variables that every homeowner should understand before making a hiring decision under pressure.
The table below gives you anchored numbers across common tarping scenarios. Use these as a sanity check when you receive a quote — not as a ceiling.
Every tarping quote has the same six cost components. When a contractor charges significantly more or less than the ranges above, one of these variables is the reason.
Damage area and roof accessibility
Tarping cost is not purely linear with square footage, but coverage area is the dominant driver. A contractor pricing a 150-square-foot tarp job uses roughly the same setup time as a 300-square-foot job — the main variable is material and the marginal labor of laying additional coverage. Accessibility matters nearly as much: a low-pitch ranch home with a walkable roof is a different job than a two-story steep-slope with dormers and valleys. Expect steep-slope surcharges of $100–$250 regardless of damage area.
Emergency dispatch during business hours (7 AM–6 PM, Monday–Friday) is the baseline price. After-hours calls — evenings, weekends, and holidays — carry a premium of $150–$350. That’s the real cost of having a crew mobilize outside their normal schedule, not a profit grab. If your situation can wait until morning without meaningful interior damage, waiting saves money. If active water entry is threatening your insulation, drywall, or electrical panel, the premium is worth it.
A tree strike or severe wind event often deposits significant debris on and around the damage area. Clearing debris before tarping is a separate labor item, and contractors typically charge $75–$200 for light debris removal. A large branch or partial collapse that requires chainsaw work and hauling can add $300–$600 to the base tarping quote.
Tarps secured with sandbags or simple edge-weighting cost less than tarps secured with 2×4 lumber running over the ridge and fastened to the fascia board. The lumber method holds in 60+ mph wind and doesn’t move during the weeks or months before permanent repair. It also costs more. For a tarp that needs to survive a Texas Gulf Coast system or a Kansas plains wind event, the lumber method is worth the extra $75–$150. Sandbags work for calm weather and short hold times.
Not all tarps are equal, and contractors use different materials depending on availability and job requirements. Here’s how the main categories compare:
Standard blue polyethylene: The hardware-store blue tarp. Cheap, widely available, and adequate for calm-weather, short-duration coverage (24–72 hours). UV degrades it quickly and it has minimal wind resistance. Not appropriate as a multi-week protective cover in storm-prone markets.
Silver/white polyethylene: Heavier gauge than blue poly, with some UV-stabilizing additives. Better for 1–2 week coverage periods. Still not rated for sustained winds above 35–40 mph without lumber anchoring.
Reinforced polyethylene: Woven scrim between two poly layers. Tear-resistant and substantially more wind-resistant. This is the professional standard for emergency tarping in hail and wind markets like Dallas, Denver, and Kansas City. Lasts 30–90 days without significant degradation under normal sun exposure.
Woven polypropylene: The premium emergency tarp material. Used by FEMA contractors after major hurricanes. Resistant to UV, puncture, and sustained wind. Overkill for a small puncture on a calm-weather weekend, but appropriate when the tarp may need to hold for 60–120 days during insurance claim adjudication.
DIY vs. Professional Tarping
The honest answer: DIY tarping is appropriate in specific circumstances and dangerous in others. The distinction is worth spelling out.
DIY is reasonable when: The damage area is accessible from a single-story eave, the pitch is 4:12 or less, the roof surface is dry, there’s no structural damage underneath the affected area, and you have the right tarp and anchoring materials on hand. A 20×20 reinforced poly tarp, a box of 2×4 scraps, and 90 minutes of work can accomplish what a contractor charges $350–$500 to do — if conditions are safe.
Call a professional when: The pitch is above 6:12. The damage is near the ridge (requiring work at the peak). The roof is wet. It’s after dark. There’s any structural uncertainty. You don’t have fall protection equipment. Every year, homeowners are seriously injured attempting emergency tarping on steep-slope roofs in adverse conditions. The $400 professional tarping cost is real money, but it’s not worth comparing against a hospital visit.
“We get calls after storms from homeowners who’ve already been on the roof themselves and now can’t figure out why the leak is worse. Half the time it’s because the tarp isn’t big enough or isn’t anchored properly — it’s acting as a funnel instead of a barrier. Getting the tarp edges past the damage point by at least 18 inches in every direction, including up-slope, is what makes it work.”
Does Insurance Pay for Tarping?
Yes — with important conditions. Under most homeowner’s insurance policies, emergency tarping to prevent further damage is classified as a mitigation expense and is typically reimbursable as part of your claim. This matters because the cost of replacing water-damaged insulation, drywall, flooring, and structural members almost always exceeds the cost of prompt tarping by a factor of 10–100.
To get reimbursed for tarping:
-
Document before the tarp goes on. Photograph the damage area from the ground and from the roof edge if safely accessible. Timestamp your photos.
-
Keep the invoice. The contractor’s itemized invoice showing tarp material, area covered, and labor is required for the adjuster. Verbal agreements don’t get reimbursed.
-
Call your insurer before permanent repair begins. Tarping is a mitigation step, not a repair. You should not proceed to permanent repair before your adjuster has inspected the damage — doing so can complicate your claim.
-
Understand your deductible relationship. Tarping costs are typically lumped into the same claim as the permanent repair, not treated as a separate claim with a separate deductible.
One major exception: if the roof was already at or near end-of-life before the storm event, the insurer may argue that the damage was due to pre-existing deterioration rather than the storm event. In that case, the tarping reimbursement may be disputed. A thorough adjuster report that documents the storm event’s direct contribution to the damage is your best counter.
How Long Does a Tarp Last?
Emergency tarps are temporary by definition. How temporary depends on material quality, anchoring method, roof pitch, and local UV and weather exposure. In practical terms:
No tarp is a substitute for permanent repair. Insurance companies and mortgage lenders increasingly monitor tarped properties; if a tarp remains in place past 90–120 days without a repair order in progress, you may receive inquiries about the property’s maintained condition.
What to Ask Before You Hire
When an emergency roofing contractor arrives at your door — especially one who may have knocked unsolicited after a storm — ask these four questions before signing anything:
-
What tarp material will you use? The answer should be reinforced polyethylene or woven polypropylene for any job expected to hold more than a week. “Blue tarp” is acceptable for a 24-hour hold, not for a 60-day claim period.
-
How will you anchor it? Lumber over the ridge is the correct answer for any pitch above 4:12 or any location with wind exposure. Sandbags are temporary.
-
Are you licensed and insured in this state? In Texas, Colorado, Kansas, and Missouri, ask for their license number and verify it before work begins. A contractor who hesitates on this question is a red flag.
-
Will you provide an itemized invoice? You need this for insurance reimbursement. Contractors who charge a flat fee with no documentation are making your claim harder.
Avoid signing any contract for permanent repair scope at the time of emergency tarping. The tarp stops the water. The scope of permanent repair should be decided after an adjuster inspection, not at 11 PM during a storm emergency.
Need Emergency Tarping Now?
Pro Exteriors deploys emergency crews across Dallas-Fort Worth, Denver, Kansas City, and Wichita. Call for same-day response.
What to Do When Your Roof Leaks: A Step-by-Step Guide
Temporary vs. Permanent Roof Fixes: What’s Actually the Difference?
Will Insurance Cover Emergency Roof Repair? What Your Policy Says
© 2026 Pro Exteriors — Prepared by AIA4 Pro Exteriors — Maren Castellan-Reyes, Senior Director, Website & Application Experience
For the service page this article supports, see storm damage roof repair.
Related reading: /blog/filing-roof-insurance-claim/ and /blog/working-with-adjusters-after-storm/.